 鴻蒙推箱子小游戲:UI界面美化
在上文筆者向大家分享了推箱子小游戲基礎功能的實現,本文將繼續向大家介紹如何做 UI 界面美化,以及如何利用輕量級偏好數據庫做數據的存儲和讀取。
UI 界面美化
①MainAbilitySlice
我們可以看到,所有的界面都是采用無框全屏化設計,因此第一步是要修改 config.json 文件。
打開文件,將代碼做出如下修改:
......
"launchType":"standard"
}
],
"metaData":{
"customizeData":[
{
"name":"hwc-theme",
"value":"androidhwext:style/Theme.Emui.Light.NoTitleBar",
"extra":""
}
]
}
}
}
然后設計按鈕樣式,首先新建一個 graphic 文件:

接著在里面添加美化代碼:
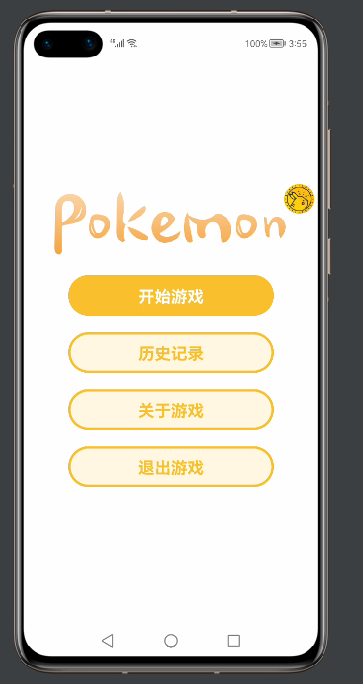
現在分析界面需求,其中帶有“Pokemon”字樣的是本地圖片,因此我們需要的控件有四個按鈕以及一張圖片,布局采用 DirectionalLayout 即可。 代碼如下:
至此第一個界面就美化完成了。
②SelectSlice
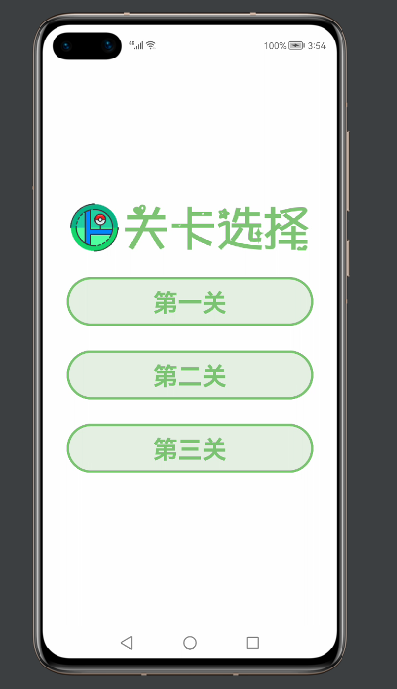
這個界面的布局跟第一個界面大同小異,只是少了一個按鈕,還有就是按鈕的樣式有點不同,因此需要再寫一個 graphic 文件,方法同上。
這里直接給出代碼:
界面的代碼如下:
③InitSlice
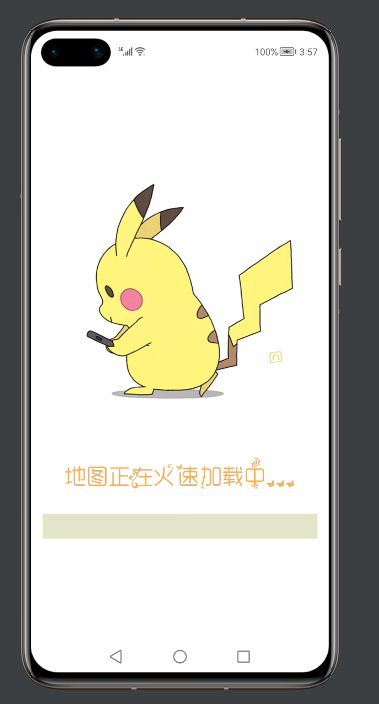
在加載界面中,只是用到了一個播放 gif 的第三方組件,以及一張圖片(文字圖片)一個進度條組件,布局也使用最常規的 DirectionalLayout 即可實現。
④GameSlice
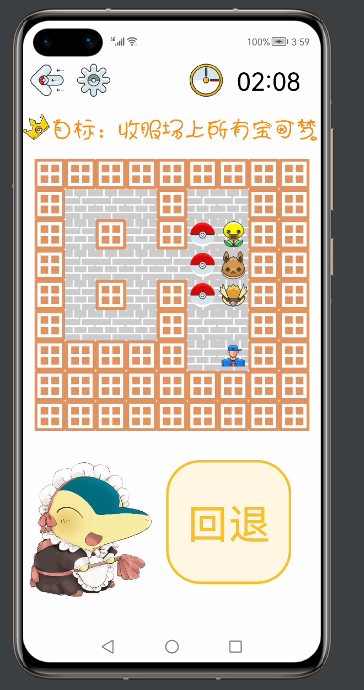
游戲界面的 UI 就稍微復雜一點,需要用到嵌套,之前說過,地圖類繼承自布局,所以實際上地圖也是一個組件,理解了這一點之后,再來看代碼會容易理解很多。 整體布局用了 DirectionalLayout 縱向布局,在里面有需要橫向布局的,則添加 DirectionalLayout 的橫向布局,做一個簡單的嵌套。
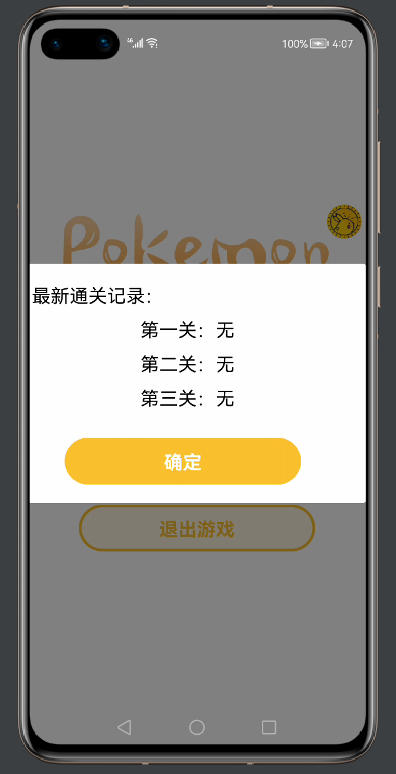
四個界面美化完畢!接下來做一些細節的調整。在按下歷史記錄按鈕時,會顯示每個關卡最近的一次歷史記錄,效果如下:
這實際上是一個自定義樣式的 CommonDialog,如何自定義?首先創建一個自定義的 RecordDialog 類和美化用的 xml 文件,然后在類里面添加自己的 xml 文件。
具體方法可以看代碼:
publicclassRecordDialog{
staticCommonDialogcommonDialog;

staticvoidshowDialog(Contextcontext,Strings1,Strings2,Strings3){
DirectionalLayoutdl=(DirectionalLayout)LayoutScatter.getInstance(context)
.parse(ResourceTable.Layout_recordlayout,null,false);
commonDialog=newCommonDialog(context);
commonDialog.setAutoClosable(true);

ButtonBtn=(Button)dl.findComponentById(ResourceTable.Id_Btn);

Textfirst=(Text)dl.findComponentById(ResourceTable.Id_firstText);
first.setText(s1);

Textsecond=(Text)dl.findComponentById(ResourceTable.Id_secondText);
second.setText(s2);

Textthird=(Text)dl.findComponentById(ResourceTable.Id_thirdText);
third.setText(s3);

Btn.setClickedListener(newComponent.ClickedListener(){
@Override
publicvoidonClick(Componentcomponent){
commonDialog.destroy();
}
});
commonDialog.setCornerRadius(15);
commonDialog.setContentCustomComponent(dl).show();
}
}
xml 文件如下:
關于這樣的設計,這個小游戲中還有一處,點擊關于游戲彈出的界面同樣也是這么實現的:
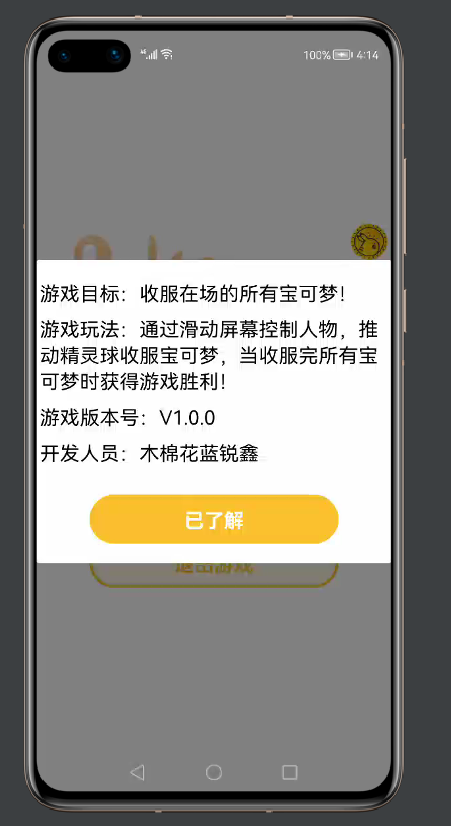
代碼如下:
publicclassMyDialog{
privatestaticTextversion;
staticvoidshowDialog(Contextcontext){
DirectionalLayoutdl=(DirectionalLayout)LayoutScatter.getInstance(context)
.parse(ResourceTable.Layout_mydialoglayout,null,false);
CommonDialogcommonDialog=newCommonDialog(context);
commonDialog.setAutoClosable(true);

ButtonknowBtn=(Button)dl.findComponentById(ResourceTable.Id_knowBtn);


knowBtn.setClickedListener(newComponent.ClickedListener(){
@Override
publicvoidonClick(Componentcomponent){
commonDialog.destroy();
}
});


commonDialog.setCornerRadius(15);
commonDialog.setContentCustomComponent(dl).show();
}
staticStringgetVersion(){
returnversion.getText();
}
}
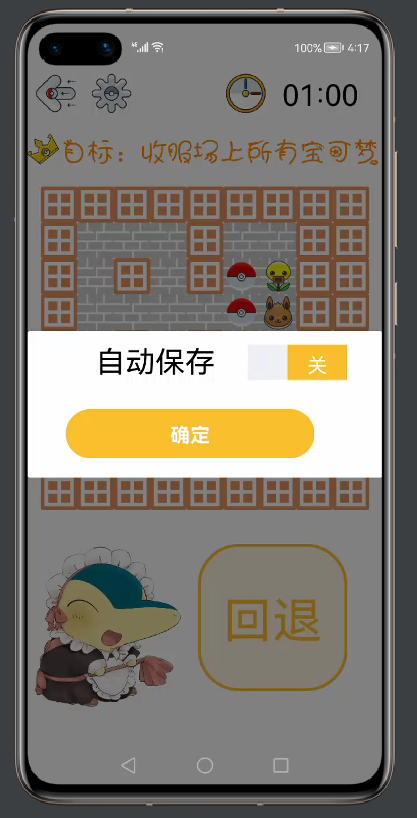
游戲中最后一處 UI 設計,就是點擊設置按鈕時出現的一個滑動塊組件,可以保存一些全局設置:
publicclassSetDialog{
staticvoidshowDialog(Contextcontext){
DirectionalLayoutdl=(DirectionalLayout)LayoutScatter.getInstance(context)
.parse(ResourceTable.Layout_setlayout,null,false);
CommonDialogcommonDialog=newCommonDialog(context);
commonDialog.setAutoClosable(true);

ButtonsureBtn=(Button)dl.findComponentById(ResourceTable.Id_sureBtn);
Switchchoose=(Switch)dl.findComponentById(ResourceTable.Id_choose);

Stringvalue=MyDB.getString(dl.getContext(),"save");
if(value!=null){
if(value.compareTo("開")==0){
choose.setChecked(true);
}
elseif(value.compareTo("關")==0){
choose.setChecked(false);
}
}

choose.setCheckedStateChangedListener(newAbsButton.CheckedStateChangedListener(){
@Override
publicvoidonCheckedChanged(AbsButtonabsButton,booleanb){
Stringkey="save";
if(b){
MyDB.putString(dl.getContext(),key,"開");
}
else{
MyDB.putString(dl.getContext(),key,"關");
}
}
});


sureBtn.setClickedListener(newComponent.ClickedListener(){
@Override
publicvoidonClick(Componentcomponent){
commonDialog.destroy();
}
});

commonDialog.setCornerRadius(15);
commonDialog.setContentCustomComponent(dl).show();
}
}
至此,UI 美化部分已經全部完成。
數據存儲
這里用到輕量級偏好數據庫,關于數據庫怎么使用,可以看這篇文章,文章寫得很詳細!
https://ost.51cto.com/posts/7911利用數據庫存儲每個關卡的信息,首先要新建一個數據庫類 MyDB:
publicclassMyDB{
privatestaticfinalStringPREFERENCE_FILE_NAME="DB";
privatestaticPreferencespreferences;
privatestaticDatabaseHelperdatabaseHelper;
privatestaticPreferences.PreferencesObservermPreferencesObserver;

privatestaticvoidinitPreference(Contextcontext){
if(databaseHelper==null){
databaseHelper=newDatabaseHelper(context);
}
if(preferences==null){
preferences=databaseHelper.getPreferences(PREFERENCE_FILE_NAME);
}

}

publicstaticvoidputString(Contextcontext,Stringkey,Stringvalue){
initPreference(context);
preferences.putString(key,value);
preferences.flush();
}

publicstaticStringgetString(Contextcontext,Stringkey){
initPreference(context);
returnpreferences.getString(key,null);
}

publicstaticbooleandeletePreferences(Contextcontext){
initPreference(context);
booleanisDelete=databaseHelper.deletePreferences(PREFERENCE_FILE_NAME);
returnisDelete;
}

publicstaticvoidregisterObserver(Contextcontext,Preferences.PreferencesObserverpreferencesObserver){
initPreference(context);
mPreferencesObserver=preferencesObserver;
preferences.registerObserver(mPreferencesObserver);
}

publicstaticvoidunregisterObserver(){
if(mPreferencesObserver!=null){
//向preferences實例注銷觀察者
preferences.unregisterObserver(mPreferencesObserver);
}
}
}
在結束游戲時,如果打開了自動保存按鈕,則進行存儲:
if(gameMap.isWin()){
tickTimer.stop();
CommonDialogcommonDialog=newCommonDialog(getContext());
commonDialog.setSize(800,400);
commonDialog.setTitleText("注意");
commonDialog.setContentText("恭喜您完成游戲!!!");
commonDialog.setButton(0,"確定",newIDialog.ClickedListener(){
@Override
publicvoidonClick(IDialogiDialog,inti){
commonDialog.destroy();
Stringvalue=MyDB.getString(getContext(),"save");
if(value!=null){
if(value.compareTo("開")==0){
MyDB.putString(getContext(),key,tickTimer.getText());
}
}
present(newSelectSlice(),newIntent());
terminate();
}
});
commonDialog.show();


}
在點擊歷史記錄時,會進行數據讀取:
//歷史記錄按鈕
recordBtn.setClickedListener(newComponent.ClickedListener(){
@Override
publicvoidonClick(Componentcomponent){
String[]s={"第一關:無","第二關:無","第三關:無"};
Stringfirst=MyDB.getString(getContext(),"first");
Stringsecond=MyDB.getString(getContext(),"second");
Stringthird=MyDB.getString(getContext(),"third");

if(first==null){
first=s[0];
}
else{
first="第一關:"+first;
}
if(second==null){
second=s[1];
}
else{
second="第二關:"+second;
}
if(third==null){
third=s[2];
}
else{
third="第三關:"+third;
}

RecordDialog.showDialog(getContext(),first,second,third);
}
});
開啟自動保存,才會在游戲結束時存進數據庫,實際上也是利用數據庫中某個 key 中的 value 控制。 具體實現如下:
choose.setCheckedStateChangedListener(newAbsButton.CheckedStateChangedListener(){
@Override
publicvoidonCheckedChanged(AbsButtonabsButton,booleanb){
Stringkey="save";
if(b){
MyDB.putString(dl.getContext(),key,"開");
}
else{
MyDB.putString(dl.getContext(),key,"關");
}
}
});
至此,項目已經全部分享完成,由于作品中涉及大量的圖片資源均是網絡資源(避免侵權),故僅作學習交流使用,實際上,絕大部分代碼已經在文章中了,剩下的就是讀者理解之后動手銜接起來!一定要動手!
后續作者也會開發更多的小游戲供大家學習交流~(下期可能就是 ArkUI 的小游戲啦!)期待與大家一起進步!!!
審核編輯:湯梓紅
聲明:本文內容及配圖由入駐作者撰寫或者入駐合作網站授權轉載。文章觀點僅代表作者本人,不代表電子發燒友網立場。文章及其配圖僅供工程師學習之用,如有內容侵權或者其他違規問題,請聯系本站處理。
舉報投訴
-
游戲
+關注
關注
2文章
750瀏覽量
26363 -
ui界面
+關注
關注
0文章
11瀏覽量
1584 -
鴻蒙
+關注
關注
57文章
2392瀏覽量
43048 -
OpenHarmony
+關注
關注
25文章
3744瀏覽量
16575
原文標題:鴻蒙推箱子小游戲:UI界面美化
文章出處:【微信號:gh_834c4b3d87fe,微信公眾號:OpenHarmony技術社區】歡迎添加關注!文章轉載請注明出處。
發布評論請先 登錄
相關推薦
單片機推箱子游戲程序模擬仿真
單片機推箱子游戲程序模擬仿真本程序仿真了ks0108驅動芯片的12864液晶屏,獨立的5個按鍵,程序的主要部分是推箱子的部分的邏輯。增加計時
發表于 11-06 20:41
LabView資料分享:推箱子游戲
`附件為LabView編寫的推箱子游戲,源碼來自網絡,分享給大家,僅供學習用途,不得用于商業用途。如涉及侵權,請聯系刪除謝謝。另外:對物聯網感興趣的童鞋,可以關注公眾號"玩轉IoT物聯網",回復“Labvie
發表于 06-14 16:25
基于labview開發的10個小游戲(貪吃蛇、俄羅斯方塊、五子棋、象棋、2048、推箱子等)
1.倒水游戲2.過河游戲3.計算器4.俄羅斯方塊5.貪吃蛇6.五子棋7.象棋8.拼圖游戲9.204810.推箱子
發表于 09-15 08:52
基于C語言設計編寫的ARM推箱子
ARM推箱子的原型是基于C語言設計編寫的推箱子小游戲,通過使用LCD、鍵盤、看門狗定時器、LED數碼管、GPIO、觸摸中斷等ARM實驗模塊,
發表于 12-14 08:09
基于單片機的推箱子游戲仿真結果
本軟件是電子工程師DIY:基于單片機的推箱子游戲的仿真結果。主要是采用STC89C54單片機,使用LCD12864 (0108)無字庫液晶屏來完成的。
發表于 07-09 09:38
?337次下載

單片機:推箱子游戲HEX文件
本文是電子工程師DIY:基于單片機的推箱子游戲的HEX文件。該游戲主要是采用STC89C54單片機,使用LCD12864 (0108)無字庫液晶屏來完成的。
發表于 07-09 09:43
?249次下載
語音識別的推箱子游戲設計
Matlab,是國際上使用最為廣泛的科學與工程計算軟件工具。其具有強大、豐富的內置函數和工具箱。在簡要介紹推箱子游戲核心算法的基礎上,給出一種基于Matlab CJUI的能進行實時語音識別的推
發表于 11-13 11:10
?13次下載
基于JAVA UI開發的“推箱子”小游戲
實際上,筆者在進行開發的過程中,并不是寫完一個界面的內部邏輯,就開始對界面進行美化,而是先讓所有的東西可以正常地跑起來,再談美化。


 工商網監
工商網監
評論